

Mythlore Art
The Mythlore Art collection contains digital reproductions of full-page illustrations that were published in Mythlore previous to issue 85, Winter 1999, during its “fanzine” era. The illustrations can be seen using the platform viewer, but cannot be downloaded. The copyright for all art appearing in Mythlore is held by the artist.
Mythlore was founded in 1969 by the late Glen GoodKnight, Founder of the Mythopoeic Society. He edited its first 84 issues, with the exception of issues 18–23, which were edited by Gracia Fay Ellwood. In its early years, Mythlore was a “fanzine” that, in addition to scholarly articles, columns, and book and media reviews, included a great deal of artwork, poetry, and other creative work. Over the years, the articles became more and more exclusively scholarly, and the creative work and fiction reviews moved to sister publications like Mythprint and Mythic Circle.


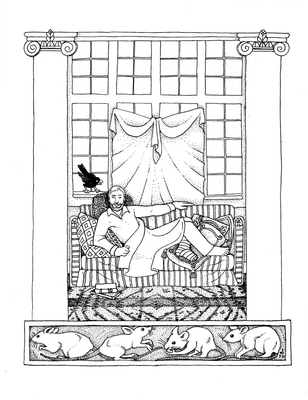
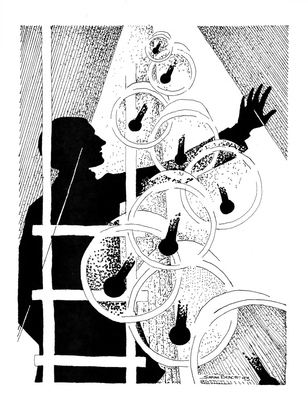
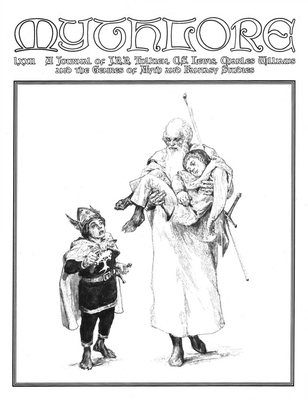
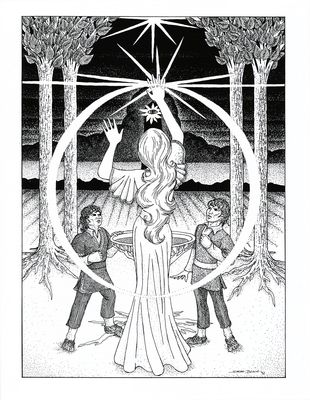
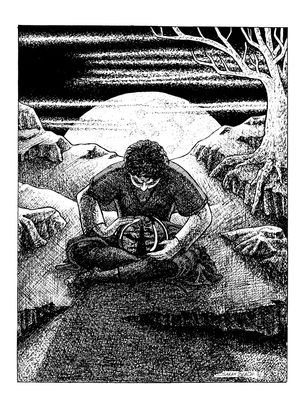
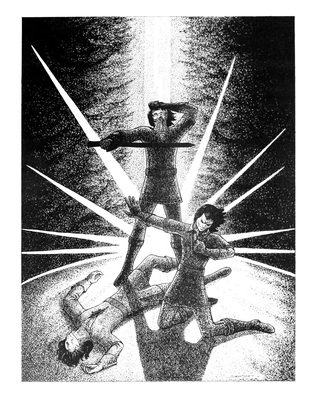
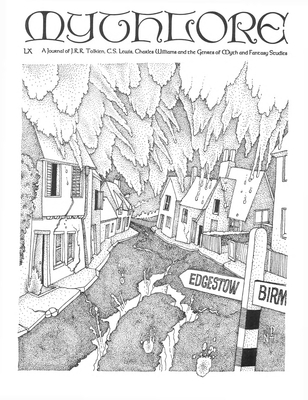
 by Elizabeth Best")


 by Elizabeth Best")

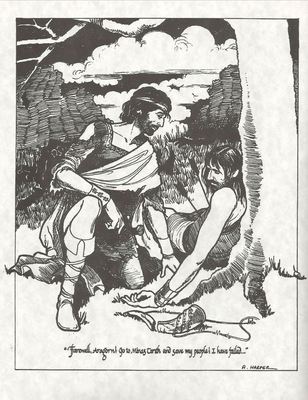
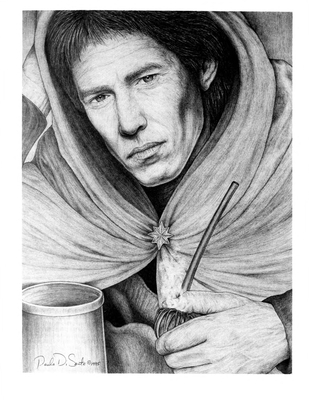
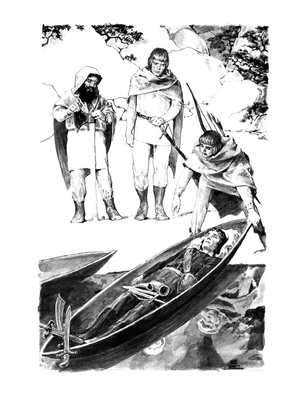
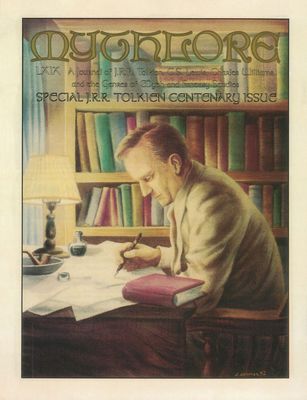
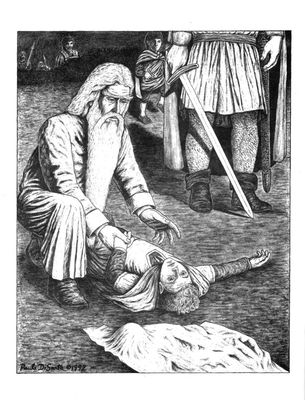
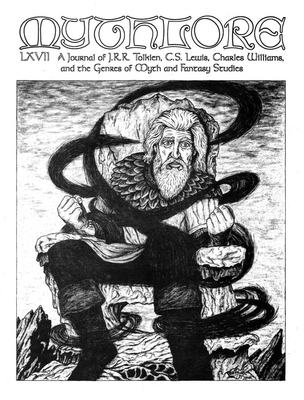
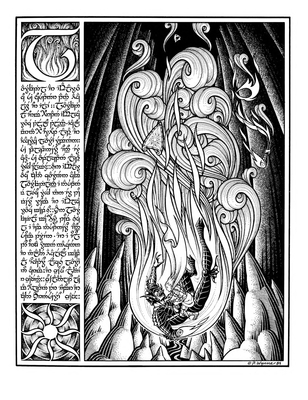
 by Annette Harper")

 by Annette Harper")

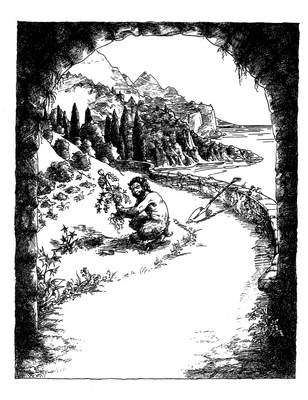
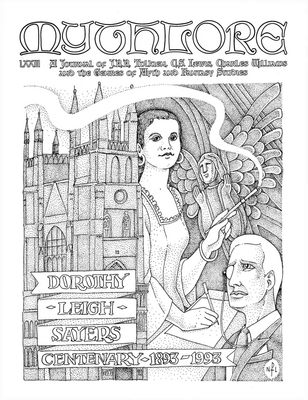
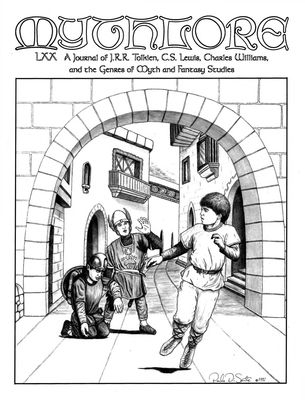
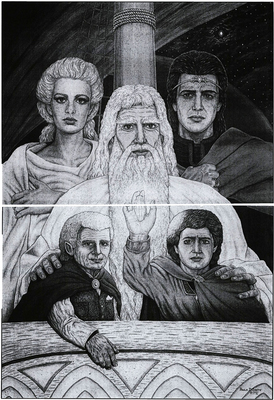
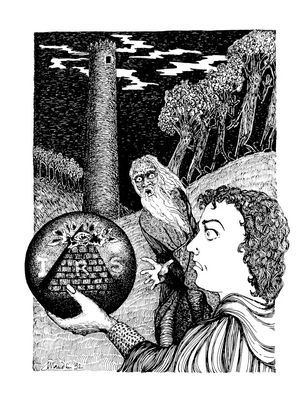
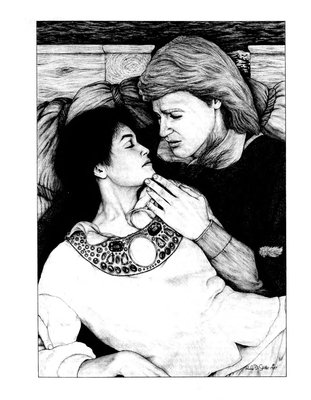
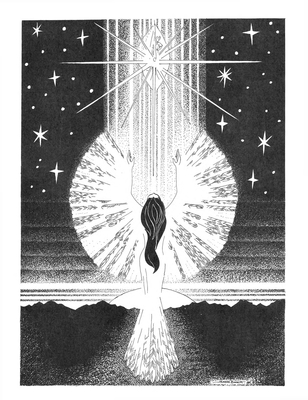
 by R. Patrick McCabe")
 by R. Patrick McCabe")
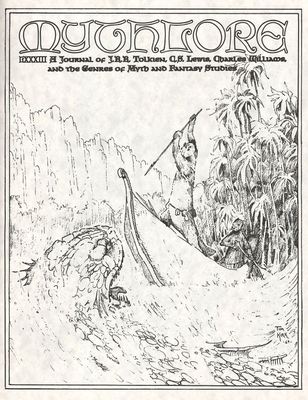
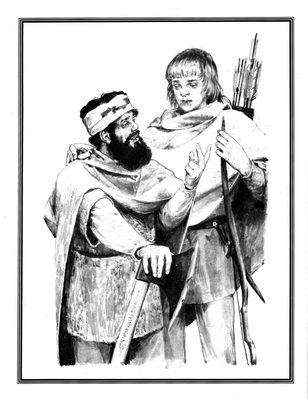
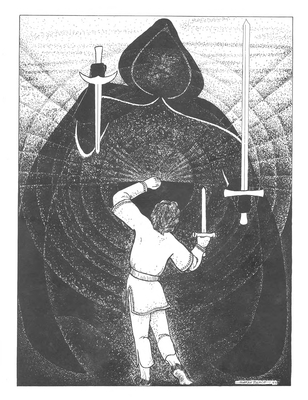
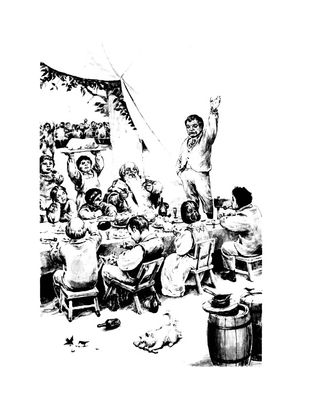
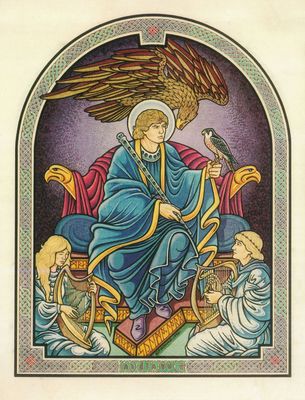
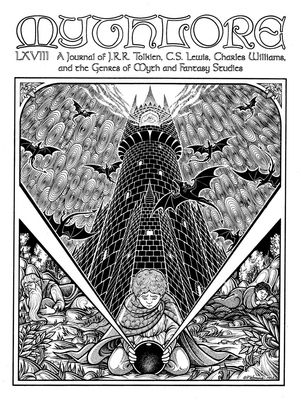
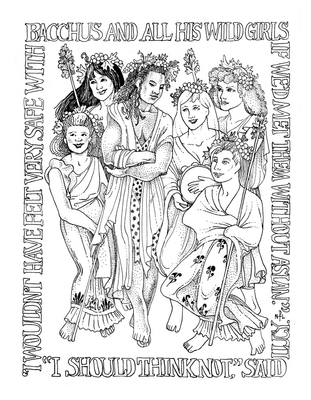
 by Mark Badger")
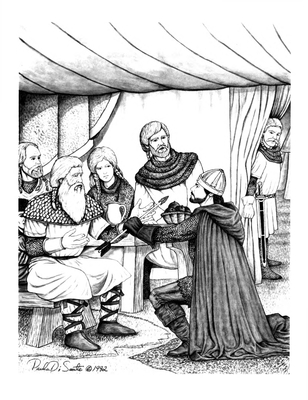
 by Patrick McCabe")

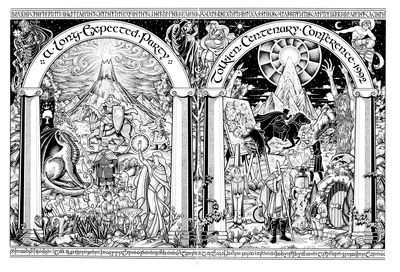
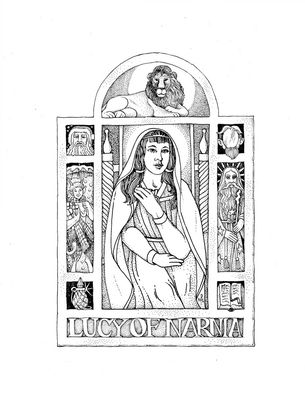
 by Bg Callahan")

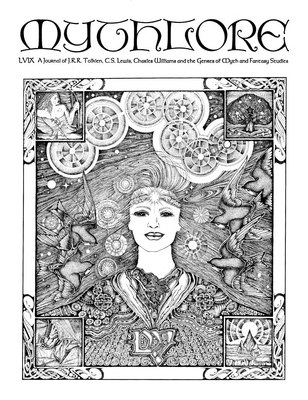
 by Annette Harper")
 by Annette Harper")

 by Mike Workman")
 by Elizabeth Best")
 by Bg Callahan")

 by Annette Harper")
 by Bruce McMenomy")
 by Bruce McMenomy")
 by Valerie Protopapas")

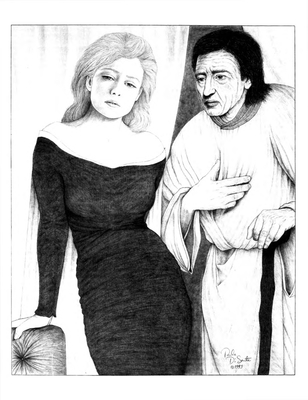
 by Christine Smith")

 by Bg Callahan")


 by Mike Workman")


 by Annette Harper")
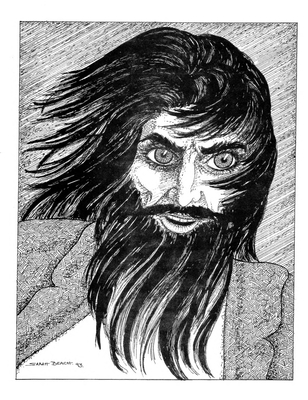
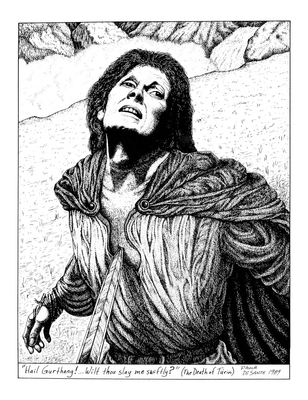
 by Steve Fabian")
 by Annette Harper")
 by Tim Kirk")


 by Annette Harper")


 by Barbi Johnson")


 by Bernie Zuber")
 by George Barr")


 by Bernie Zuber")

 by Bg Callahan")
 by Tim Kirk")
 by Don Simpson")
 by George Barr")
 by Bg Callahan")

 by Bernie Zuber")
 by Bg Callahan")


 by George Barr")
